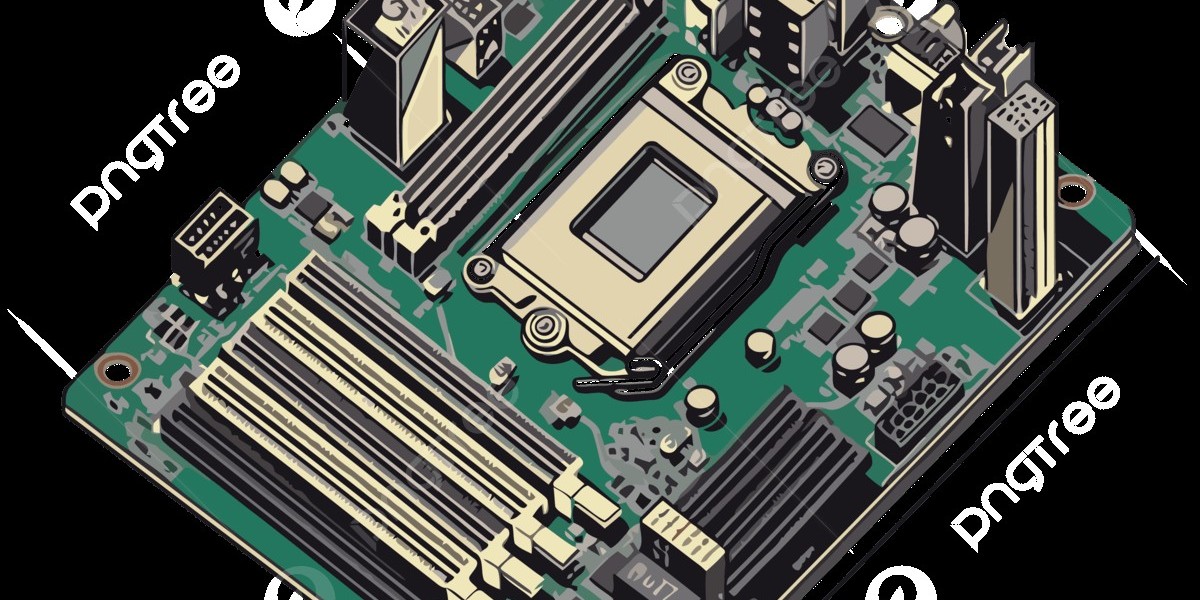

A computer motherboard acts as the central connection point for nearly every major hardware component. The processor, memory, storage, graphics card, cooling system, and many other devices depend on it to communicate correctly. When a computer starts behaving strangely, the motherboard may be involved, but the actual cause can also be another component connected to it.
Understanding basic motherboard troubleshooting tips can help you diagnose problems before spending money on replacement parts. Whether your computer refuses to start, displays a blank screen, freezes randomly, or restarts without warning, following a logical troubleshooting process can make the problem easier to identify.
Understand the Symptoms First
Before opening your computer, identify exactly what is happening. Different symptoms can point toward different hardware problems.
For example, a computer that does absolutely nothing when the power button is pressed may have a power-related problem. A computer that turns on but produces no display could have an issue with RAM, graphics, the processor, or BIOS settings.
Random restarts may be caused by overheating, unstable memory, a failing power supply, or motherboard-related issues.
Write down the symptoms before changing anything. This gives you a useful starting point.
Start With a Complete Power Check
Power problems are among the easiest things to overlook. Before assuming that the motherboard has failed, verify that the computer is receiving stable power.
Check the wall outlet and power cable. If possible, test the outlet with another device. For desktop computers, inspect the power supply switch and make sure it is set correctly.
Inside the case, check the motherboard's primary power connector. The CPU power connector should also be firmly attached.
A computer may receive enough power to turn on fans but not enough stable power to start correctly. Therefore, unusual startup behavior should not automatically be blamed on the motherboard.
Examine the RAM Installation
RAM is one of the most common components to check when a computer fails to boot.
Turn off the computer completely and disconnect its power source. Remove the memory modules carefully and reinstall them.
Make sure each module is installed in the correct slot according to the motherboard manufacturer's instructions.
If multiple memory modules are installed, test them individually. This approach can help identify a defective module or problematic memory slot.
If the system works with one module but fails with another, the memory may be the source of the problem rather than the motherboard.
Listen for Startup Beeps
Some desktop computers use audible beep patterns during startup. These sounds can provide information about hardware problems before anything appears on the monitor.
The meaning of each beep pattern depends on the motherboard and BIOS manufacturer. A particular pattern might indicate memory, graphics, processor, or other hardware problems.
If your system has a motherboard speaker or diagnostic speaker, listen carefully during startup. Search the motherboard manual for the corresponding beep-code explanation.
This simple step can significantly reduce the amount of guesswork involved in hardware troubleshooting.
Check Motherboard Diagnostic LEDs
Many newer motherboards include small diagnostic LEDs. These may be labeled CPU, DRAM, VGA, and BOOT.
During startup, the lights may briefly turn on as the system checks different components. If one remains illuminated, it can provide a useful clue.
For example, a DRAM light may indicate a memory-related problem, while a VGA indicator can point toward graphics hardware.
Always check the motherboard documentation because diagnostic systems differ between manufacturers and models.
Inspect All Internal Cables
A disconnected cable can make a perfectly functional component appear defective.
Check the connections for:
Motherboard power
CPU power
SATA storage
Graphics card power
Front-panel controls
Cooling fans
RGB or accessory devices
Make sure cables are properly seated without excessive force.
If you recently moved the computer or installed new hardware, cable connections should receive extra attention.
Check the CPU Cooling System
A processor that becomes too hot can cause system instability, freezing, or unexpected shutdowns.
Look inside the case and verify that the CPU cooler is firmly mounted. Check whether the CPU fan starts spinning when the computer powers on.
Dust can also block airflow through heatsinks and fans. Cleaning the cooling system can improve thermal performance.
If the CPU cooler was recently removed, check that it has been installed correctly and that thermal paste has been applied according to the cooler manufacturer's recommendations.
Reset BIOS Settings
BIOS or UEFI settings control many important hardware functions. Incorrect settings can prevent a computer from booting properly.
If the problem started after changing BIOS settings, returning the configuration to its default values may solve the issue.
Motherboards can provide different methods for resetting BIOS settings, including a clear-CMOS jumper, button, or battery removal.
Follow the manufacturer's instructions before performing a reset. Afterward, the system may need basic settings such as boot order or date and time configured again.
Test Without External Devices
External devices can sometimes interfere with startup. USB drives, hubs, printers, external storage, and other peripherals may create unexpected boot behavior.
Disconnect unnecessary external devices and attempt to start the computer with only the essential keyboard, mouse, display, and power connections.
If the computer starts normally afterward, reconnect devices individually until the problematic peripheral is identified.
This is a simple diagnostic technique that does not require replacing internal hardware.
Check the Graphics Hardware
A computer can appear to have a motherboard problem when the actual issue is related to graphics hardware.
If you have a dedicated graphics card, turn off the computer and check whether the card is securely installed. Verify its power connections as well.
If the processor supports integrated graphics, you may be able to temporarily test the system without the dedicated graphics card.
Also check that the monitor cable is connected to the appropriate video output. A working computer can still appear dead if the display is connected to the wrong port.
Look for Signs of Physical Damage
Carefully inspect the motherboard if basic troubleshooting does not solve the problem.
Look for unusual signs such as:
Burn marks
Broken connectors
Corrosion
Damaged capacitors
Bent socket pins
Cracks
Loose components
Do not attempt to repair delicate motherboard components without the appropriate knowledge and equipment.
Physical damage can require specialized electronics repair or motherboard replacement.
Check for Overheating
Overheating can affect system stability and may cause symptoms that resemble hardware failure.
Make sure air can move freely through the computer case. Check the intake and exhaust fans and remove excessive dust.
Monitor temperatures using appropriate system-monitoring software when the computer is operational.
If the system becomes unstable only after running demanding applications for an extended period, thermal issues deserve particular attention.
Remove Recently Installed Hardware
Think about what changed before the problem appeared.
Did you install new RAM? Add a graphics card? Replace the processor? Install a new storage drive?
New hardware may be incompatible, incorrectly installed, or defective.
Temporarily removing recently installed hardware can help determine whether it is responsible. If the computer returns to normal afterward, investigate the removed component and its compatibility with the motherboard.
Check the CMOS Battery
The CMOS battery helps maintain certain motherboard settings when the computer is powered off.
A weak battery may result in incorrect system time, lost BIOS settings, or repeated configuration warnings.
If your computer repeatedly forgets its BIOS settings after being turned off, check the battery. Replace it only with a compatible battery and follow safe hardware-handling procedures.
Test Components One at a Time
One of the most effective motherboard troubleshooting tips is to isolate components.
Instead of replacing several parts at once, test them individually. Start with essential hardware and gradually reconnect additional components.
For example, you might test:
Power supply
Motherboard
CPU
One RAM module
Graphics output
Storage
Additional hardware
This process can help determine which component is causing the problem.
Avoid Unnecessary BIOS Updates
BIOS updates can provide useful fixes and hardware compatibility improvements, but they should not be performed without a reason.
Before updating, confirm the exact motherboard model and revision. Use the manufacturer's official instructions and firmware.
Never interrupt power during the update process. An interrupted firmware update can leave the computer unable to start.
If the system is stable and the update does not address a specific issue, there may be little reason to update immediately.
When Motherboard Replacement May Be Necessary
Sometimes troubleshooting confirms that the motherboard itself has failed.
Replacement may be necessary when the board has severe physical damage, failed critical circuitry, damaged sockets, or persistent faults that cannot be economically repaired.
Before purchasing a replacement, verify compatibility with the CPU, RAM, storage, case, power supply, and other hardware.
A professional technician can help identify the exact failure and determine whether repair or replacement makes more financial sense.
Conclusion
Diagnosing motherboard problems does not always require expensive equipment. Many issues can be narrowed down by checking power connections, RAM, cables, cooling, graphics hardware, BIOS settings, and diagnostic indicators.
The key is to work systematically. Change one thing at a time and observe the result. Avoid assuming that every startup or performance problem means the motherboard has failed.
By following these motherboard troubleshooting tips, you can identify common hardware issues more efficiently and make a better decision about whether you need a simple adjustment, component replacement, or professional computer repair.