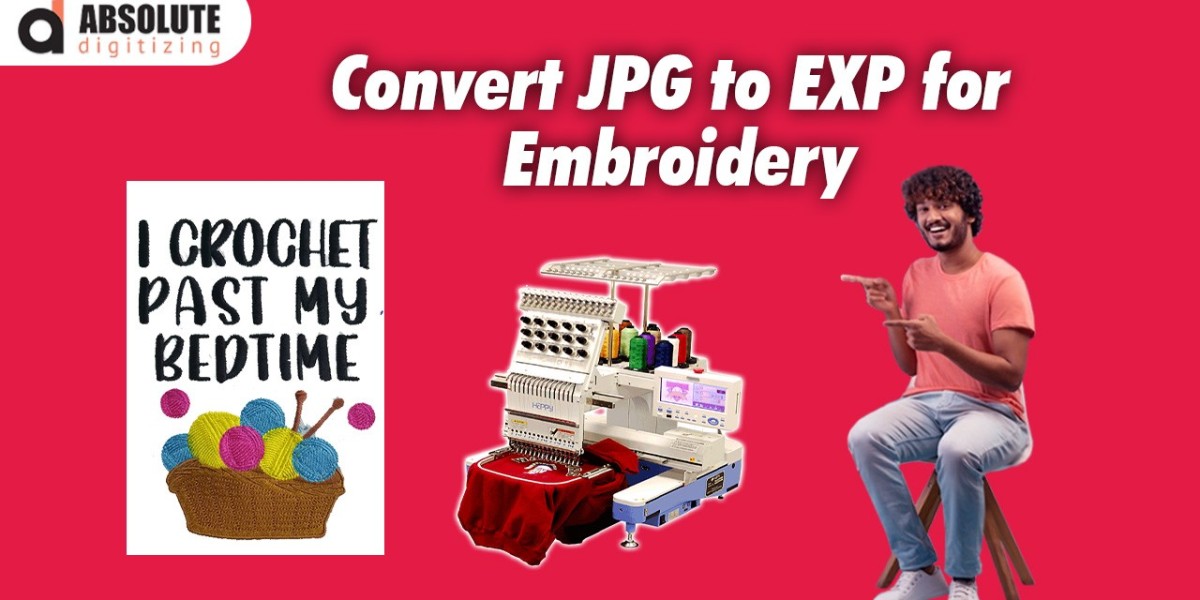
Turning your digital artwork into embroidered masterpieces requires one crucial step: converting your JPG images into EXP embroidery files. This specialized file format used by Melco and Brother commercial embroidery machines transforms flat images into stitch-perfect designs ready for your needle. Whether you're creating custom apparel, promotional products, or personalized gifts, understanding this conversion process unlocks endless creative possibilities while ensuring professional-quality results every time.
Why EXP Files Matter in Machine Embroidery
Unlike standard image formats, EXP files contain specific instructions telling embroidery machines exactly how to recreate your design in thread. These instructions include:
- Stitch types (satin, fill, or running stitches)
- Thread color changes
- Stitch sequencing and direction
- Tension adjustments
When you convert a JPG to EXP for embroidery without proper digitizing, you'll likely get disappointing results – gaps in coverage, distorted shapes, or uneven stitching. That's because regular images don't contain the dimensional information embroidery machines need.
The Professional Conversion Process
Quality EXP file creation involves more than simple file conversion – it's a technical art form called digitizing. Here's how the pros do it:
- Design Evaluation
Experienced digitizers analyze your JPG for:
- Suitable color contrasts
- Recognizable shapes at reduced sizes
- Areas that need simplification for stitching
- Stitch Mapping
The digitizer manually plots:
- Stitch paths that follow natural contours
- Underlay stitches for stability
- Density adjustments for different fabrics
- Machine-Specific Optimization
Since EXP files work with Melco/Brother machines, the digitizer:
- Adjusts for the machine's maximum stitch count
- Optimizes jump stitches between elements
- Sets proper trims and color changes
- Quality Testing
Before delivery, professionals:
- Stitch out a sample on similar fabric
- Check for registration issues
- Make necessary adjustments
Common Conversion Challenges (And How to Overcome Them)
Challenge 1: Complex Designs
Problem: Detailed photographs or intricate illustrations often stitch poorly.
Solution: Simplify artwork before conversion by:
- Reducing color count
- Increasing contrast between elements
- Outlining important features
Challenge 2: Text Legibility
Problem: Small fonts become unreadable when stitched.
Solution:
- Use bold, sans-serif fonts
- Minimum 0.25" height for capital letters
- Add satin stitch borders for definition
Challenge 3: Fabric Distortion
Problem: Designs pucker or warp on certain materials.
Solution:
- Add proper underlay stitches
- Adjust pull compensation settings
- Modify stitch angles based on fabric stretch
DIY Conversion Options
While professional digitizing yields best results, several approaches exist for hobbyists:
1. Auto-Digitizing Software
Programs like Embrilliance or Hatch offer automatic conversion with adjustable parameters. Best for simple designs with:
- Limited colors (2-3)
- Clear boundaries between elements
- Minimal small details
2. Online Conversion Services
Web-based tools provide quick turnaround for:
- Basic logos
- Monograms
- Geometric patterns
3. Hybrid Approach
Create initial artwork on tablet/computer, then:
- Use free tools like Ink/Stitch for basic digitizing
- Send to a pro for final EXP refinement
Pro Tips for Flawless Conversions
- Start with Vector Art
EPS or SVG files convert better than JPGs since they maintain clean edges when scaled. - Mind Your Dimensions
Designs smaller than 1" often lose detail. Optimal sizes:
- Hats: 2.5-3" wide
- Left chest: 3-4" wide
- Back designs: 10-12" tall
- Consider Thread Colors
Match your JPG's palette to actual thread options (Pantone guides help). - Account for Stitch Count
Complex designs exceeding 50,000 stitches may need simplification.
When to Hire a Professional
Invest in expert digitizing when your project involves:
- Company logos for uniforms
- Detailed artwork for production runs
- Specialty fabrics like stretch knits or towels
- 3D/puff embroidery effects
Professional digitizers typically charge $15-$75 per design but save you:
- Hours of frustration
- Wasted materials from test runs
- Embarrassment of subpar products
The Future of EXP Conversions
Emerging technologies are changing the game:
- AI-assisted digitizing for faster turnarounds
- Cloud-based platforms for instant file adjustments
- 3D stitch previews eliminating physical samples
Final Thoughts
Converting JPG to EXP files successfully bridges the gap between digital art and physical embroidery. While automated tools offer convenience, nothing replaces the trained eye of an experienced digitizer for important projects. By understanding the process, recognizing common pitfalls, and knowing when to call in professionals, you can ensure your custom designs stitch out perfectly every time.
Remember – in machine embroidery, your final product is only as good as your digitized file. Invest the time (or resources) to get your EXP conversion right, and you'll create embroidered pieces that truly do your original artwork justice. Whether you're personalizing gifts or producing branded merchandise, mastering this essential skill opens doors to unlimited creative expression through thread.
