Introduction
Your client has entrusted you with their logo, a vital piece of their brand identity. Now, it’s your job to translate that digital asset into flawless embroidery using your Pfaff machine. The challenge isn't just knowing how to convert logo to PCS embroidery file—it's mastering how to do it without a single detail getting lost in translation. A low-quality conversion results in fuzzy edges, distorted shapes, and colors that don’t pop, ultimately reflecting poorly on both your craft and your client's brand. Quality loss happens when the process is rushed or the wrong tools are used. This guide is your blueprint for a flawless transition from pixel (or vector) to perfect stitch, ensuring the logo you deliver is as sharp, clean, and professional as the original file.
Understanding the Enemy: How Quality Gets Lost
Before you can preserve quality, you need to know what threatens it. When converting a logo for embroidery, quality loss isn't just a vague concept; it shows up in specific, frustrating ways:
Blurred Edges & Lost Detail: This happens when small text or fine lines are digitized with stitches that are too wide or dense, causing them to blob together. Using a low-resolution source image guarantees this outcome.
Distorted Shapes: Circles become ovals, and straight lines bend. This is caused by incorrect pull compensation—the digitizer’s failure to adjust the design to counteract the fabric's tension under the needle.
Color Mismatch & Muddy Effects: Colors can look flat or different from the digital logo if stitch directions aren’t varied to create light reflection, or if too many color changes are crammed into a small space.
Unprofessional Texture: Puckering fabric, thread breaks, or gappy coverage stem from improper stitch density—too many stitches cause bulk, too few cause poor coverage.
These issues almost always originate at the digitizing stage. The act of saving a file as a .PCS is the final step; the real work is in the meticulous preparation that precedes it.
The Non-Negotiable Foundation: Start with the Right Source File
You cannot create a high-quality embroidery file from a low-quality image. This is the most critical step to prevent quality loss.
Insist on a Vector File. This is your gold standard. Ask your client for the original .AI (Adobe Illustrator), .EPS, .PDF, or .SVG. Vector files are made of mathematical paths, not pixels. They are infinitely scalable and provide clean, precise lines that digitizing software can trace perfectly, preserving sharp edges and smooth curves.
If Only a Raster Image Exists, you must use the highest-resolution version possible. A .PNG or high-DPI .JPG is the bare minimum. Enlarge it on your screen to 400%. If the edges look blocky and pixelated (a condition called "aliasing"), the logo will stitch out the same way. A blurry, low-res logo is a guarantee of quality loss before you even begin.
The Professional Path: Choosing Your Digitizing Method
To preserve quality, you must use a method that respects the craft. There are two primary routes, and both hinge on human expertise.
Route 1: Partner with a Professional Digitizing Service (The Expert Guarantee)
This is the most reliable method to ensure zero quality loss, especially for complex logos or important client work.
Why it Preserves Quality: You are hiring a specialist. A professional digitizer doesn’t just trace your logo; they interpret it. They make conscious decisions about stitch type, density, direction, and pull compensation specific to your chosen fabric. They see potential problems (like too-small text) and advise on solutions before the file is ever created.
How to Vet for Quality: Don’t just pick the cheapest service. Look for:
A portfolio showcasing stitched samples, not just digital previews.
Services that ask detailed questions about size, fabric, and end-use.
A clear revision policy that allows for a test stitch.
The Process: You upload your pristine vector file, provide fabric/size specs, and receive a custom-built .PCS file. The human expertise applied here is what actively prevents quality loss.
Route 2: Use Professional-Grade Software (The Hands-On Control)
If you digitize in-house, you must invest in capable software. Free or cheap auto-digitizing programs are the number one cause of quality loss.
Software that Preserves Quality:
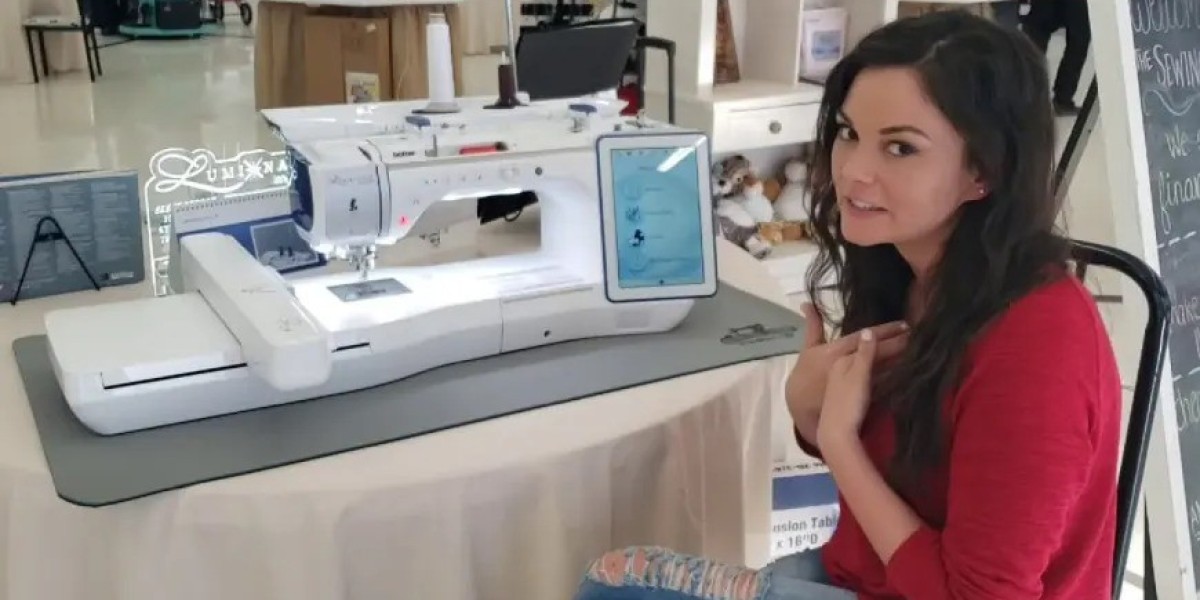
PFAFF® creative™ Embroidery / mySewnet™: The native choice, designed for perfect .PCS output.
Hatch Embroidery by Wilcom: Renowned for its superior auto-tracing and manual editing tools that give you control over every stitch.
Wilcom EmbroideryStudio: The industry standard for professional digitizing.
Why it Preserves Quality: These programs allow for manual stitch editing, precise underlay settings, and fabric-specific adjustments. You have the tools to correct issues that auto-digitizing creates.
The Step-by-Step Workflow for a Flawless PCS File
Follow this sequence to guard against quality loss at every stage.
Step 1: Artwork Analysis & Simplification
Action: Open the logo in graphic software (even free like Inkscape) or your embroidery software. Look for elements smaller than 3mm—these may not embroider well and might need subtle simplification.
Goal: Identify potential problem areas (tiny serifs on fonts, ultra-thin lines) before digitizing.
Step 2: Provide Detailed Specifications
Action: Whether sending to a service or setting up your software, define:
Exact Finished Size: "2.5 inches wide on the left chest."
Specific Fabric: "Heavy cotton twill cap," "Stretchy polo jersey," or "Structured bag material." This is vital for correct pull compensation and density.
Goal: Ensure the digitizing is engineered for the physical reality of the final product.
Step 3: The Digitizing Process – Key Quality Preservation Actions
This is where the magic happens. If digitizing yourself, focus on:
Assigning Correct Stitch Types: Use Satin Stitches for clean borders and text. Use Fill Stitches for larger areas. Never let software auto-convert everything to a fill.
Setting Intelligent Stitch Direction: Change the angle of fill stitches in different logo sections to add visual interest and strength.
Applying Pull Compensation: Deliberately widen columns and shapes slightly to counteract the pull of the thread, so they stitch out at the correct dimensions.
Using Underlay: Always add appropriate underlay (edge run, center run, zig-zag). This stabilizes the fabric and provides a foundation for top stitches, preventing distortion and improving coverage.
Step 4: Export as .PCS and Conduct the Mandatory Test Stitch
Action: Save/export your file. Then, immediately stitch it out on a scrap of your actual production fabric.
Goal: The test stitch is your ultimate quality control. It reveals real-world issues invisible on-screen. Look for puckering, registration errors, or lost detail.
Step 5: Analyze and Refine
Action: Compare the stitched sample to the original logo. Is the text crisp? Are shapes true? If not, note the specific issues.
Goal: Make precise adjustments. Request a revision from your service with clear feedback: "Please increase pull compensation on the circle by 0.1mm," or "Reduce satin stitch width on the small text." This iterative process is what seals in quality.
Common Pitfalls and Proactive Solutions
Pitfall: Using Auto-Convert Websites.
Solution: Avoid them entirely for logos. They cannot make quality judgments.
Pitfall: Digitizing for "Generic" Fabric.
Solution: Always digitize with a specific fabric in mind. Create separate file versions for different materials if needed.
Pitfall: Not Communicating with the Client.
Solution: Manage expectations. Show them a test stitch photo for approval. Explain that some ultra-fine digital details may need subtle adjustment to stitch robustly.
Conclusion: Quality is a Conscious Choice
Learning how to convert logo to PCS embroidery file without losing quality is a disciplined process that prioritizes preparation, expert input, and rigorous testing. It underscores that the .PCS file is not a converted image, but a engineered set of instructions built upon a foundation of a perfect source file and crafted with an understanding of thread, needle, and fabric.
By starting with a vector, choosing a quality-focused method (expert service or professional software), and embracing the indispensable test-stitch feedback loop, you take full control of the outcome. This approach transforms the conversion from a risky guess into a predictable, professional service. The result is more than just a file—it’s a stitch-perfect representation of your client’s brand and a powerful testament to your own craftsmanship.